Uncategorized
How to Grow Mushrooms
Disclaimer: While Magic Mycology does not condone or promote the use of illicit drugs. We do support the use of herbal and natural remedies for various health ailments. That said, this guide is informative in nature, and is intended to provide home-growers and mycology hobbyists with the information they need to grow mushrooms safely and effectively. Affiliate Links: We at Magic-Mycology.com have a mission of providing only the highest quality information and content for our loyal reader base. To continue this mission, we occasionally will use affiliate links and may receive a commission for products we recommend. We whole-heatedly believe in any and all of the products we recommend. Keep in mind you don’t have to use the links, but if you do, thank you for your support.
One of the most common methods for starting a bulk mushroom grow is to use Rye Berries or other grain as a medium to spawn your mushroom spores. Rye berries are ideal for this purpose in providing the necessary moisture, nutrients, and are readily available online or at your local feed store.
This method will make approximately 7 quarts of spawn, which will produce upwards of 2-5 tubs depending on the size of the tub you will be using for your bulk grow. See our full guide on tub sizes and substrate to spawn ratio here.
For this Tek you will need the following materials:
- 2 quarts of Rye Berries, just under 3 lbs. Best price here
- 7, one-quart wide-mouth mason jars
- Lids with air exchange and injection ports – see our DIY or buy these premade here
- Mushroom spore syringes
- Strainer
- Large Spoon
- Tinfoil
- Water
- Gypsum powder
- Large cooking pot
- Large pressure cooker. See our recommendations for best value and best quality.
- Heating element – stove or otherwise
The first step in the process is to clean the grains to remove dirt and any impurities in our rye berries.
For this, we will wash them using hot water either in a pot or with the use of a strainer. I prefer the strainer, but you can use any container. Make sure to rinse the berries multiple times until the water runs clear.
Once clean you will put your rye berries in a large cooking pot. Fill the pot with warm water until the berries are fully submerged by 2-3 inches of water.
Next, you will add one tablespoon of gypsum powder to the rye and water pot. This is done to prevent the rye from sticking together. Mixing is not necessary as the gypsum powder will naturally suspend in the liquid.
At this point, we will cover the pot and let sit for 12-24 hours. This necessary step pre-hydrates the grains which helps prevent burst and also hydrates endospores which will make them easier to kill during the pasteurisation (sterilization) process.
After soaking for 12-24 hours you will place the pot on the stove at a high temperature. Dial the temperature back once boiling and allow the berries to simmer for 10-12 minutes.
Strain the berries from the water and allow to dry for 30-45 minutes. You can tell they are ready when they stop steaming.
Once dry it is time to fill our jars with the rye. Use your spoon to scoop the dry rye berries in your jars up to around the 600 ml mark; roughly ¾ full. You may have some excess grains remaining after filling up 7 jars.
Put on the modified lids and gently shake the jars. Your berries should not stick together, but rather move around in the jar freely.
Before sterilization, we will be wrapping the top of the jars with tinfoil. This is done to avoid additional moisture from seeping in through the holes in the lids.
THINGS YOU’LL NEED
- Cereal Grain (preferably rye)
- 5 Gallon Bucket or similar container
- Stove and large pot.
- Strainer or screen.
- Mason jars and polyfill. (or synthetic filter disc)
- Pressure Sterilizer.
Although the following method is a little labor intensive, it’s a foolproof way to get perfect grain spawn every time.
STEP 1: RINSE AND SOAK
Measure the desired amount of grain, keeping in mind that the rye will expand when moistened and be almost double its original size. You want to have your jars 2/3’s-3/4’s full when fully sterilized so just use a quart jar and measure out 1 quart of dry grain for every 3 quarts of desired spawn. Throw in a little extra for good measure.
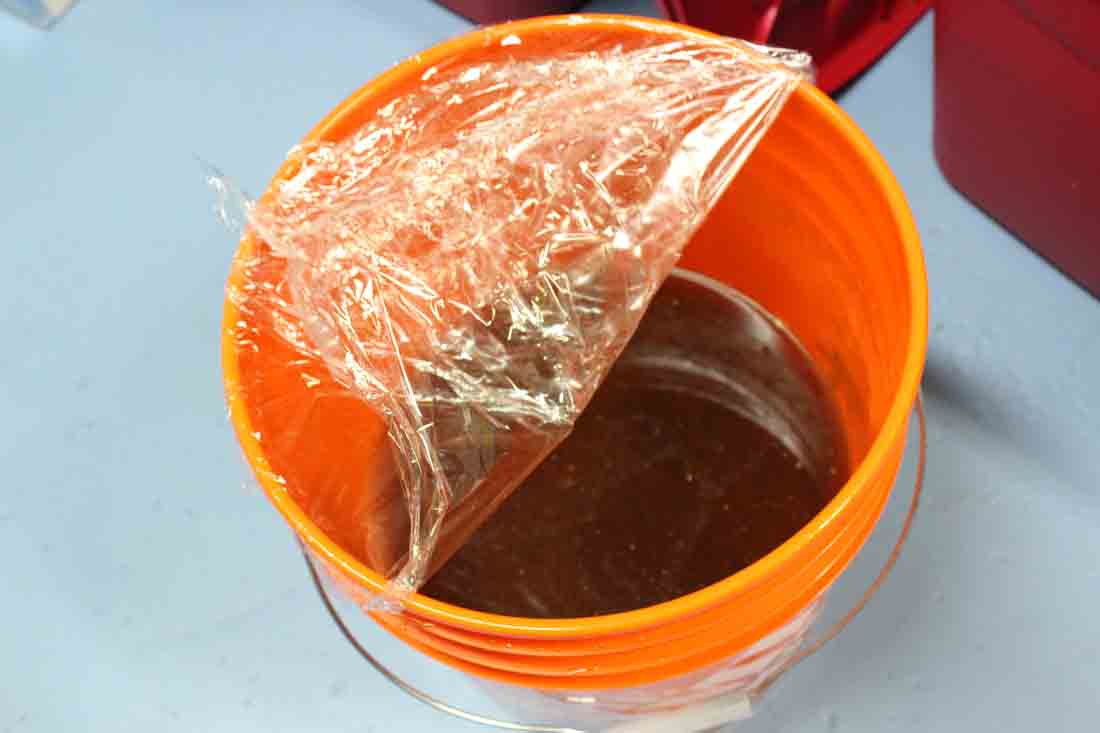
The coffee changes the pH a bit and is thought to increase yield, while the gypsum is helpful to prevent the grains from sticking together. For ten jars, I like to use about a tablespoon of gypsum and a cup of coffee.
Let the grains soak for 12 -24 hours. This will allow the grains to absorb water, and will cause many contaminants to sprout, making them more susceptible to being killed through sterilization.
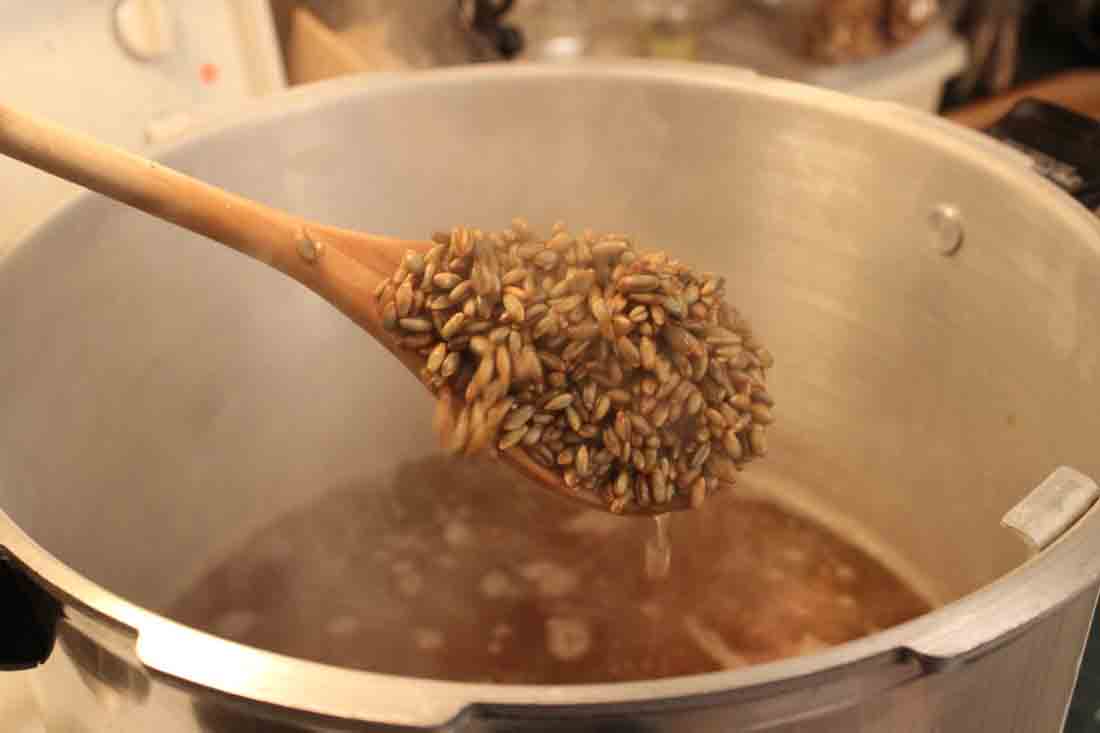
STEP 2: COOK
Cooking the grains will cause them to further swell and absorb water. It also softens them up substantially which allows for easier digestion by the mycelium.
I like to bring the grains to a boil in a large pot and let them simmer for 10-15 minutes.
Cooking them too long can cause many of the individual grains to crack open, which can increase the chances of contamination during incubation.
STEP 3: DRAIN AND DRY
Another reason for cooking the grains is so that they can dry by steaming off.
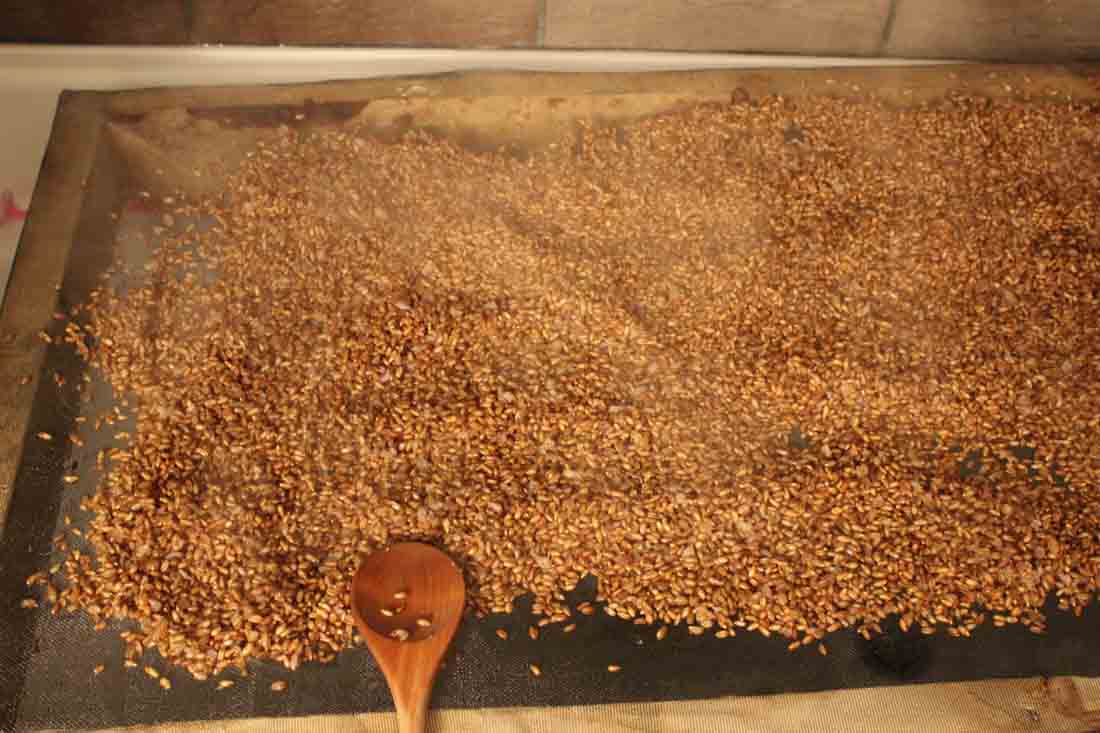
Drain the boiling hot grains into a colander and shake it a number of times to let the steam evaporate. Follow this by spreading out the grains into a thin layer over a screen or towel. Allow the grains to dry for an hour or two. When ready, they should have no noticeable moisture on the outside of the grain.
Pick up a handful of grains to test. They should be loose individuals kernels, dry on the outside, and swollen with water on the inside.
STEP 4: LOAD AND STERILIZE
Now that your grains are dry, load them into your jars up to about 2/3-3/4 full.
The jar lids should have a breathable filter to allow for gas exchange during incubation. This can be done in a number of ways. I like to simply drill a 1/4″ hole through the lid and pull a wad of synthetic pillow stuffing through the hole.
This will effectively stop contaminants but will allow the mycelium to breathe. Another advantage of this method is that jars can be inoculated with a culture syringe by simply injecting directly through the pillow stuffing.
Another option is to drill a few holes in the lid and place a synthetic filter disc between the jar lid and the screw cap.
These discs are available through different sources online and are made to fit wide mouth or regular sized mason jars. I also like to place the lid on the jar upside down, meaning the metal side is against the glass and the rubber seal is facing up.
This makes it easier when trying to open the lid in a sterile environment without having to pry it off with your fingers.
The final step in preparing your jars is to cover the lids with tinfoil. This will prevent water from the pressure cooker from spilling into your grain and changing the moisture content of the jar.
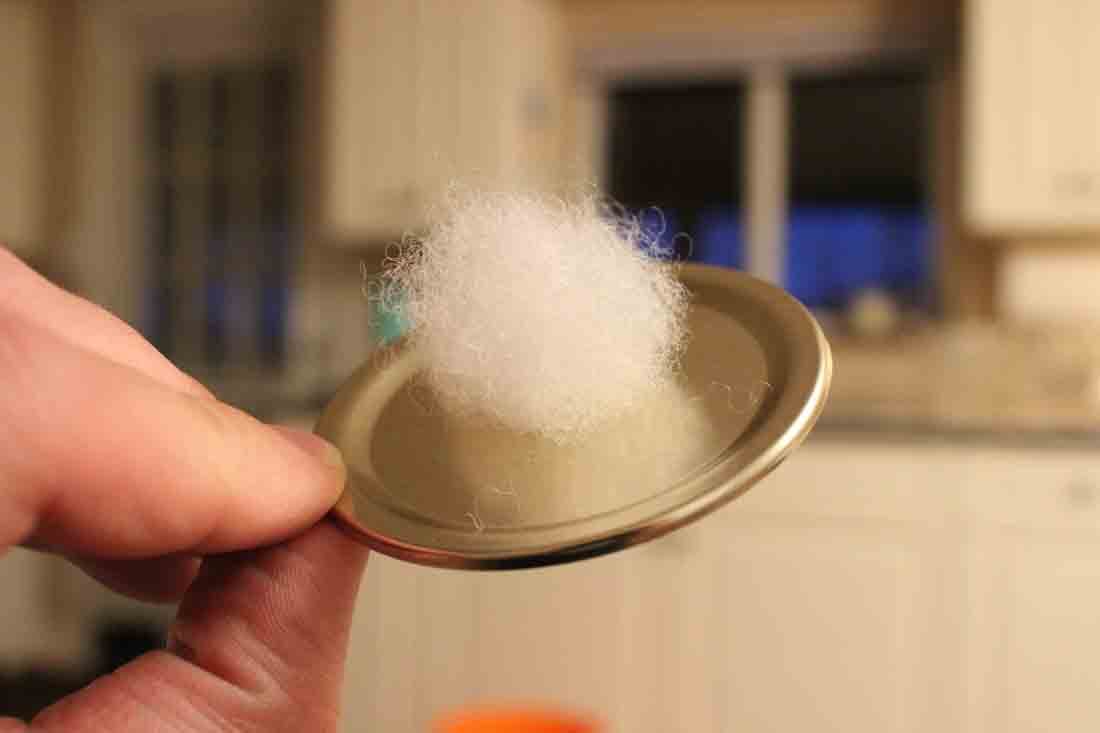
Breathable lid for gas exchange.
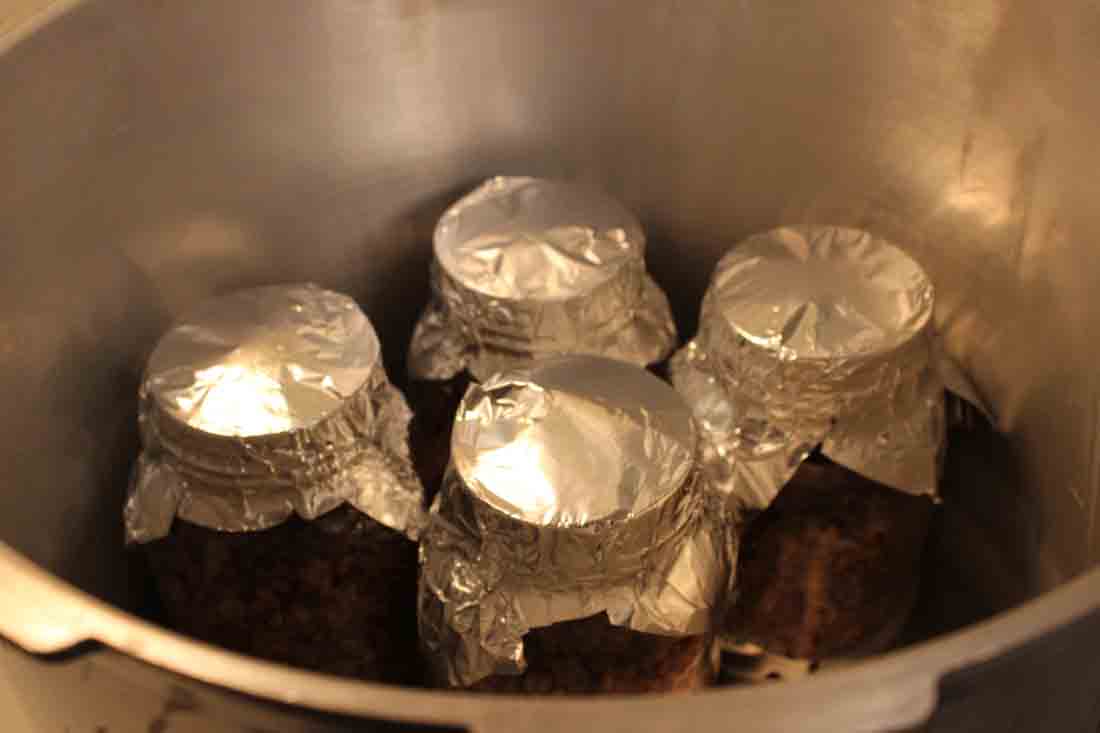
Tinfoil covered jars ready for sterilization.
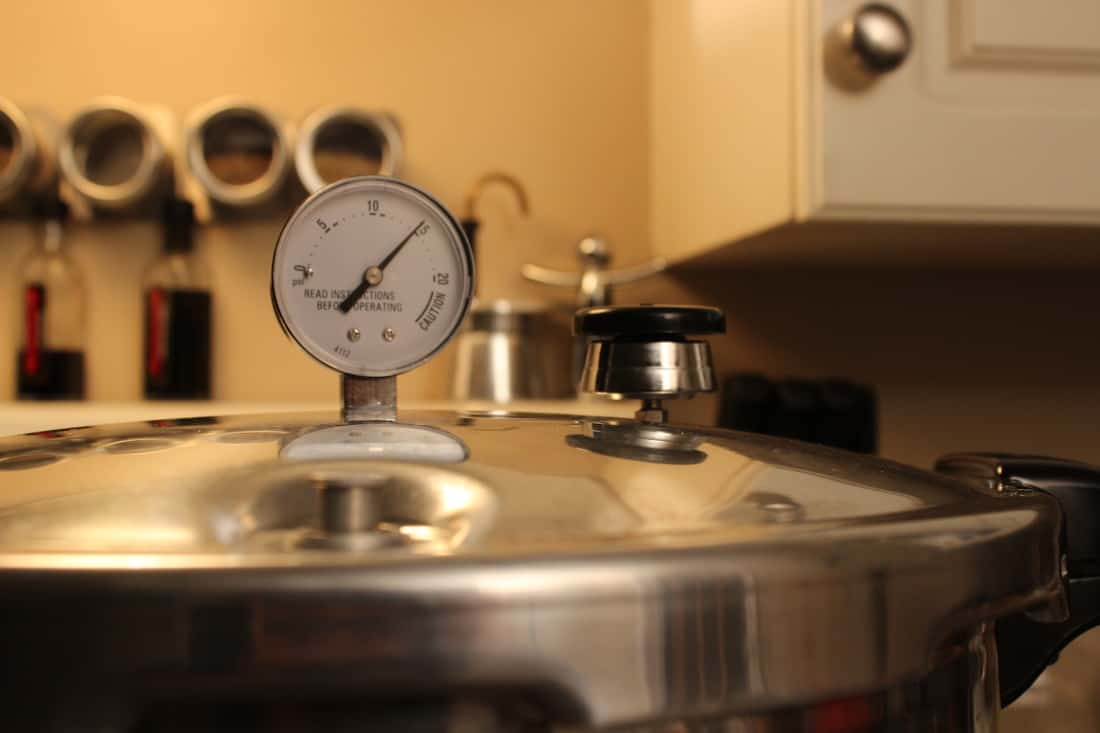
Sterilize for 90 minutes at 15 PSI.
Using a pressure cooker or autoclave, sterilize the grains at 15 PSI for at least 90 minutes.
You need a good quality pressure canner that can reach at least 15 psi and is large enough to fit your grain jars. The standard tool for the job is the All American. I have also used the much cheaper Presto canner for a long time with great results.
Either of these canners will do the job. Do not start the time until the pressure inside the cooker has reached a full 15 PSI. Once the 90 minutes is up, turn off the stove and walk away. Let it cool for at least a few hours before handling. Once cool, inspect the jars in a reasonably clean environment.
Check to see that there are minimal broken grains and that the grains aren’t globbed together.
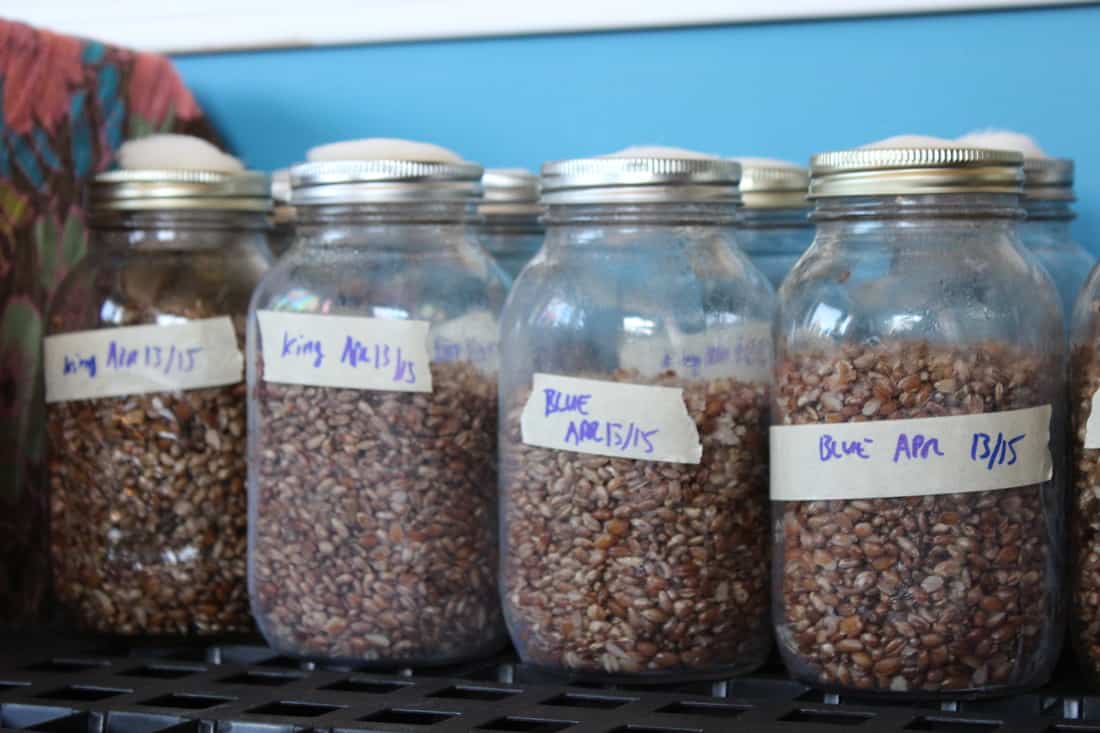
You now have perfect grain ready for inoculation with mushroom culture!
Here are some products you might find useful:
Now its time to sterilize
Fill your pressure cooker with at least one gallon of water, secure the lid tightly, and place on your heating element. You will want to bring the pressure up to 15 PSI. Once there put a timer on for 90 minutes.
Once the timer has gone off, remove from the heating element and allow the pressure cooker to cool off. This will take a few hours depending on the surrounding environment.
Remove the jars, taking off the tin foil, and you are good to inoculate with the spores of your choice!


Usually I do not read article on blogs, however I would like to say that this write-up very compelled me to take a look at and do so! Your writing taste has been amazed me. Thanks, quite nice post.
Thank you very much for sharing, I learned a lot from your article. Very cool. Thanks. nimabi